
What Clearwater Homeowners Should Expect From Our Experienced Impact Window and Door Installers
Two short visuals below show how installers check an opening and how water moves at a door threshold.
New impact windows and doors should do more than look good once the job is done. The way they are measured, fitted, anchored, sealed, and tested plays a big role in how they work over time. Mitchell Windows and Doors brings local experience to each project while keeping homeowners informed along the way.
Our Clearwater window company understands how coastal rain, heat, humidity, and salt air can put extra stress on windows and doors. Small installation details like frame alignment, drainage, hardware fit, and sealing deserve real attention. Experienced installers know where problems tend to hide and address them before they become bigger headaches.
A careful installation also means checking how each impact window and door opens, closes, locks, and fits into the home.
Here is what you should expect when experienced impact window and door installers handle your Clearwater project.
Key Takeaways
- The right fit starts long before the new window or door goes into place.
- Strong installation depends on solid anchors, careful sealing, and proper alignment.
- A finished job should look clean, move smoothly, and hold up to daily use.
We Check What the Old Unit Was Hiding
Old frames can cover problems that stayed out of sight for years. Once the window or door comes out, our installers check for soft wood, cracked stucco, loose material, and uneven spots around the opening. Those issues need attention before the new impact unit goes in.
A clean opening gives the new frame a better place to sit and seal. Ignoring damage around the edges can make the finished job harder to fit correctly. Taking care of those trouble spots first helps the installation come together the right way.
Measurements Account for Imperfect Openings
Older homes often have openings that shifted a little over time. Our team checks several points to ensure the new unit fits the actual space, rather than assuming every corner lines up.
Diagonal Checks Reveal Hidden Skew
An opening can look square at first and still be slightly twisted. Checking corner-to-corner measurements helps show if one side has moved more than the other. That information helps the installer plan the fit before the new frame is set.
Depth Matters as Much as Width
The opening also needs enough room for the frame, anchors, and sealing materials to sit correctly. Small changes in wall depth can affect how the unit meets the inside and outside surfaces. Catching those differences early helps avoid a frame that sticks out, sits too deep, or needs extra correction later.
Measurement Point Scan
See how installers can check several parts of an opening before the new window or door is set.
- 1A clean opening outline is shown.
- 2A marker appears across the Top.
- 3A marker appears across the Bottom.
- 4Markers appear on both Sides.
- 5Diagonal A runs corner to corner.
- 6Diagonal B runs across the other corners.
- 7A Depth indicator shows the wall from face to face.
- 8Every measurement point stays visible together.
- 9The sequence stops with all points labeled.
One reading is not the whole openingChecking the top, bottom, sides, diagonals, and depth gives installers more information about the actual opening than one measurement alone.
- Solid blue lines with end ticks. Top, Bottom, Left Side, Right Side, and Depth.
- Dashed lines with arrows. Diagonal A (long dashes) and Diagonal B (dots), corner to corner.
- Hatched blocks. The wall seen from above, showing its Depth.
Read this visual as text
- An empty opening sits in a stucco wall, with no new unit installed yet.
- Markers run across the Top and the Bottom, and along the Left Side and Right Side.
- Diagonal A and Diagonal B run corner to corner to show whether the opening is twisted.
- A top-down view shows the Depth of the wall from the outside face to the inside face.
- All of the readings together describe the opening better than any one of them.
This simplified visual does not provide measurements for a specific window or door opening.
Removal Is Planned Around the Surrounding Wall
Removing an old window or door takes care because the wall around it can be easy to damage. Our Clearwater window company works around stucco, trim, sealant, and nearby finishes with a controlled approach. That helps limit extra repair work before the new unit goes in.
Mitchell Windows and Doors also uses the removal stage to get a clear look at the opening. Clean edges make it easier to spot cracks, loose material, or other areas that need attention. Handling this step with care gives the replacement a better place to fit.
Drainage Gets Planned Before the Final Seal
Heavy rain can find weak spots around a window or door faster than most homeowners expect. Installers need to think about where water will travel before the frame gets fully sealed. Good drainage planning helps keep rain moving away instead of letting it collect near the opening.
Clearwater weather makes this step worth extra attention. Small gaps or poorly placed sealant can trap moisture where it does not belong. Planning the water path first helps the finished installation handle wet weather with fewer problems.
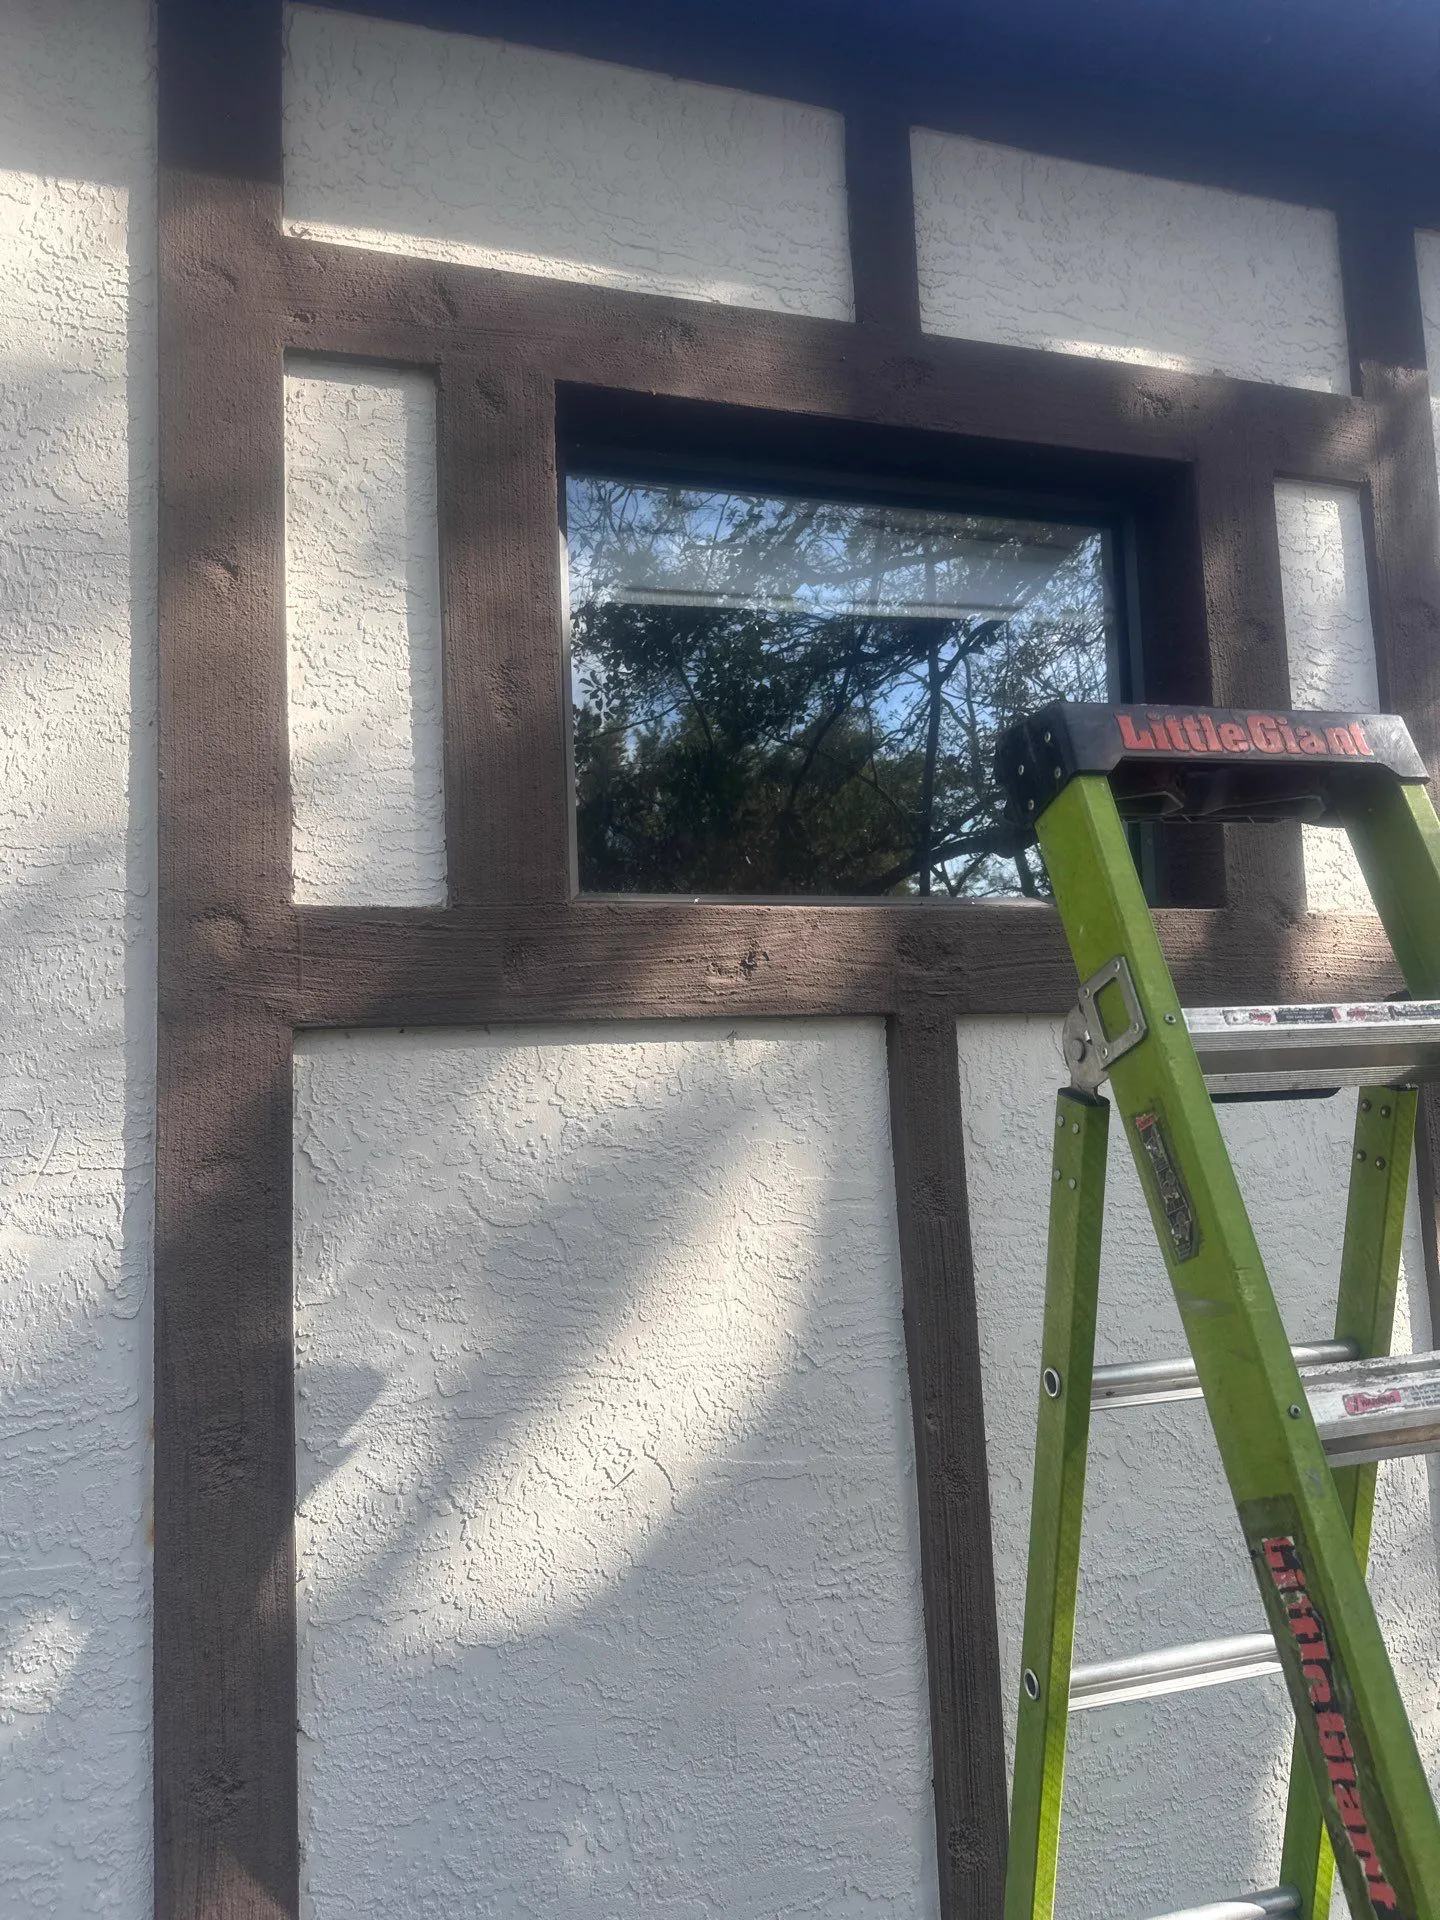
Frames Are Set Before They Are Fully Fastened
A frame can sit inside the opening and still be slightly out of line. Our installers check whether it is level, square, and sitting evenly before the fasteners are fully tightened. This step helps prevent the frame from being locked into a position that causes problems later.
Careful setup also affects how the moving parts work every day. Sashes, locks, and seals need the frame to stay in the right position so they can meet cleanly. Getting that alignment right first helps the window or door open, close, and lock the way it should.
Large Impact Doors Need Different Handling
Large impact doors bring more weight, wider openings, and more moving parts into the job. A Clearwater window company needs to account for how each panel will sit, slide, meet, and lock before final placement. Careful setup helps keep the door from dragging or feeling uneven during daily use.
The main areas that deserve extra attention include:
- Panel Weight: Heavy glass panels need steady support while they are moved into position. Poor handling can make alignment harder before the door is even secured.
- Track Alignment: Sliding panels depend on a level track to move without sticking. Even a small shift can make the door feel rough each time it opens or closes.
- Threshold Position: The bottom of the door has to sit correctly so water, movement, and foot traffic do not create problems. A poorly placed threshold can affect both drainage and how the panels meet.
- Meeting Points: Large doors often have several places where panels, locks, and seals come together. Those points need to line up so the door closes cleanly and seals the way it should.
Getting these details right helps a large impact door feel smooth, balanced, and easier to use.
Threshold and Water Flow Visual
See how threshold position can affect the path water takes at the bottom of a large door opening.
- 1The lower door assembly is shown at rest.
- 2The Threshold is labeled.
- 3The Exterior Side is labeled.
- 4The Interior Side is labeled.
- 5Rain reaches the exterior side of the threshold.
- 6Arrows show water moving away from the opening.
- 7The threshold position is outlined.
- 8The sequence stops with every part labeled.
Where the door meets the openingThe threshold sits where the door meets the lower opening, so its position can affect both panel operation and the path water takes outside the door.
- Short dashed lines. Rain reaching the exterior side.
- Blue arrows. Water Direction along a conceptual drainage path, away from the opening.
- Dashed outline. The Threshold, where its position shapes that path.
Read this visual as text
- A side cutaway shows the lower part of a large impact door: the Door Panel standing on the Threshold.
- The Exterior Side is on the left, a step lower; the Interior Side is on the right.
- Rain reaches the exterior side of the threshold.
- Arrows show the Water Direction: off the outside edge of the threshold and away from the opening, along a Conceptual Drainage Path.
This simplified visual does not model drainage for a specific door, threshold, or property.
Get More From Every Upgrade With Our Clearwater Window Company
A strong installation comes down to the details homeowners do not always see. Mitchell Windows and Doors focuses on proper fit, secure anchoring, careful sealing, and smooth operation so each impact window and door works the way it should. Choosing our Clearwater window company means getting a team that treats the whole installation as part of your home’s protection.
Plan Your Clearwater Project
Tell us about the windows and doors you want to replace and a local Mitchell Windows and Doors team member will follow up.
Frequently Asked Questions
Installers should inspect the openings for damage, uneven surfaces, and other hidden problems before new units go in. This helps create a stronger base for the new windows and doors.
A frame that sits unevenly can affect locks, seals, sashes, and overall operation. Careful alignment helps each part meet correctly and keeps the unit working smoothly.
Installers should check how the threshold meets the floor, frame, and outside surface. Proper placement helps the door operate well while also supporting better water control.
Installers study drainage paths and seal the areas where the frame meets the home. This helps reduce gaps where wind-driven rain could work its way inside.
Homeowners should expect the crew to test locks, handles, sashes, sliding panels, seals, and other moving parts. A final review helps catch small issues before the project is finished.